I developed a way to make simple fabric necklaces using these special bits of fabric. My grandmother was quite the quilter in her day! She hasn't quilted in years but she saved some tiny quilting squares that had been cut but never made it into a quilt. I didn't know what to do with them but I knew I couldn't throw them away!

I sell kits to make these necklaces out of your own fabric. The kits include instructions and some of the hard-to-find materials. I thought it was time to share the instructions with you all!
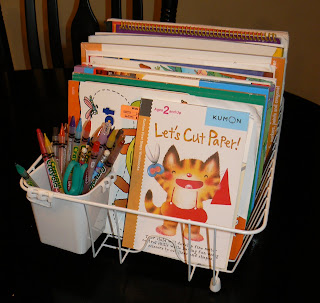
Gather your materials and let's get crafting!
 |
| pendant, necklace chain, interfacing, and sponge come in the kit |
Materials:
pendant
tray
necklace
chain
fabric
interfacing
cosmetic
sponge
fabric
glue
(I recommend Aleene’s
Clear Gel Tacky Glue)
clothing
iron and ironing board
scissors
Full instructions after the jump.